I managed to find a few different products to test out as stiffeners. That giant pile of tatting in the front contains my scraps from designs gone wrong...I guess that's what happens when you create patterns for a few years. All of those scraps definitely came in handy for this experiment though!
When testing out the stiffeners, I tried to choose light and dark colors, as well as one larger piece of tatting. The stiffening mixtures were prepared in plastic cups or bowls, and I let the tatting soak for a few minutes before removing it and blotting with a paper towel. I then set the tatting to dry overnight on a paper plate that had been covered in plastic wrap.
All in all, the stiffeners were much more similar to each other than I had expected. I really thought that some of these would turn out badly, but they all ended up being viable methods for stiffening tatting.
The first one I tried was Elmer's glue mixed with water. Instructions online say to mix about half glue and half water.
Update: I received a message informing me that there is also a product called Elmer's Glue-All, which is different than the school glue. I might go back and run another test with Glue-All to see how well it works for stiffening.
On my first attempt, I put way too much water in the mixture and not enough glue. The stiffened tatting really wasn't stiff at all. It was almost as if I had blocked it with plain water. So, I tried again, making sure to put much less water and much more glue. It helped a lot, but the glue + water mixture is still the least stiff of all of the options that I tried. Here's a photo of the stiffened tatting:
I didn't notice any whitening of the tatting, even when using this on black thread. Maybe a little duller than untreated tatting, but you'd have to really stare at it to notice.
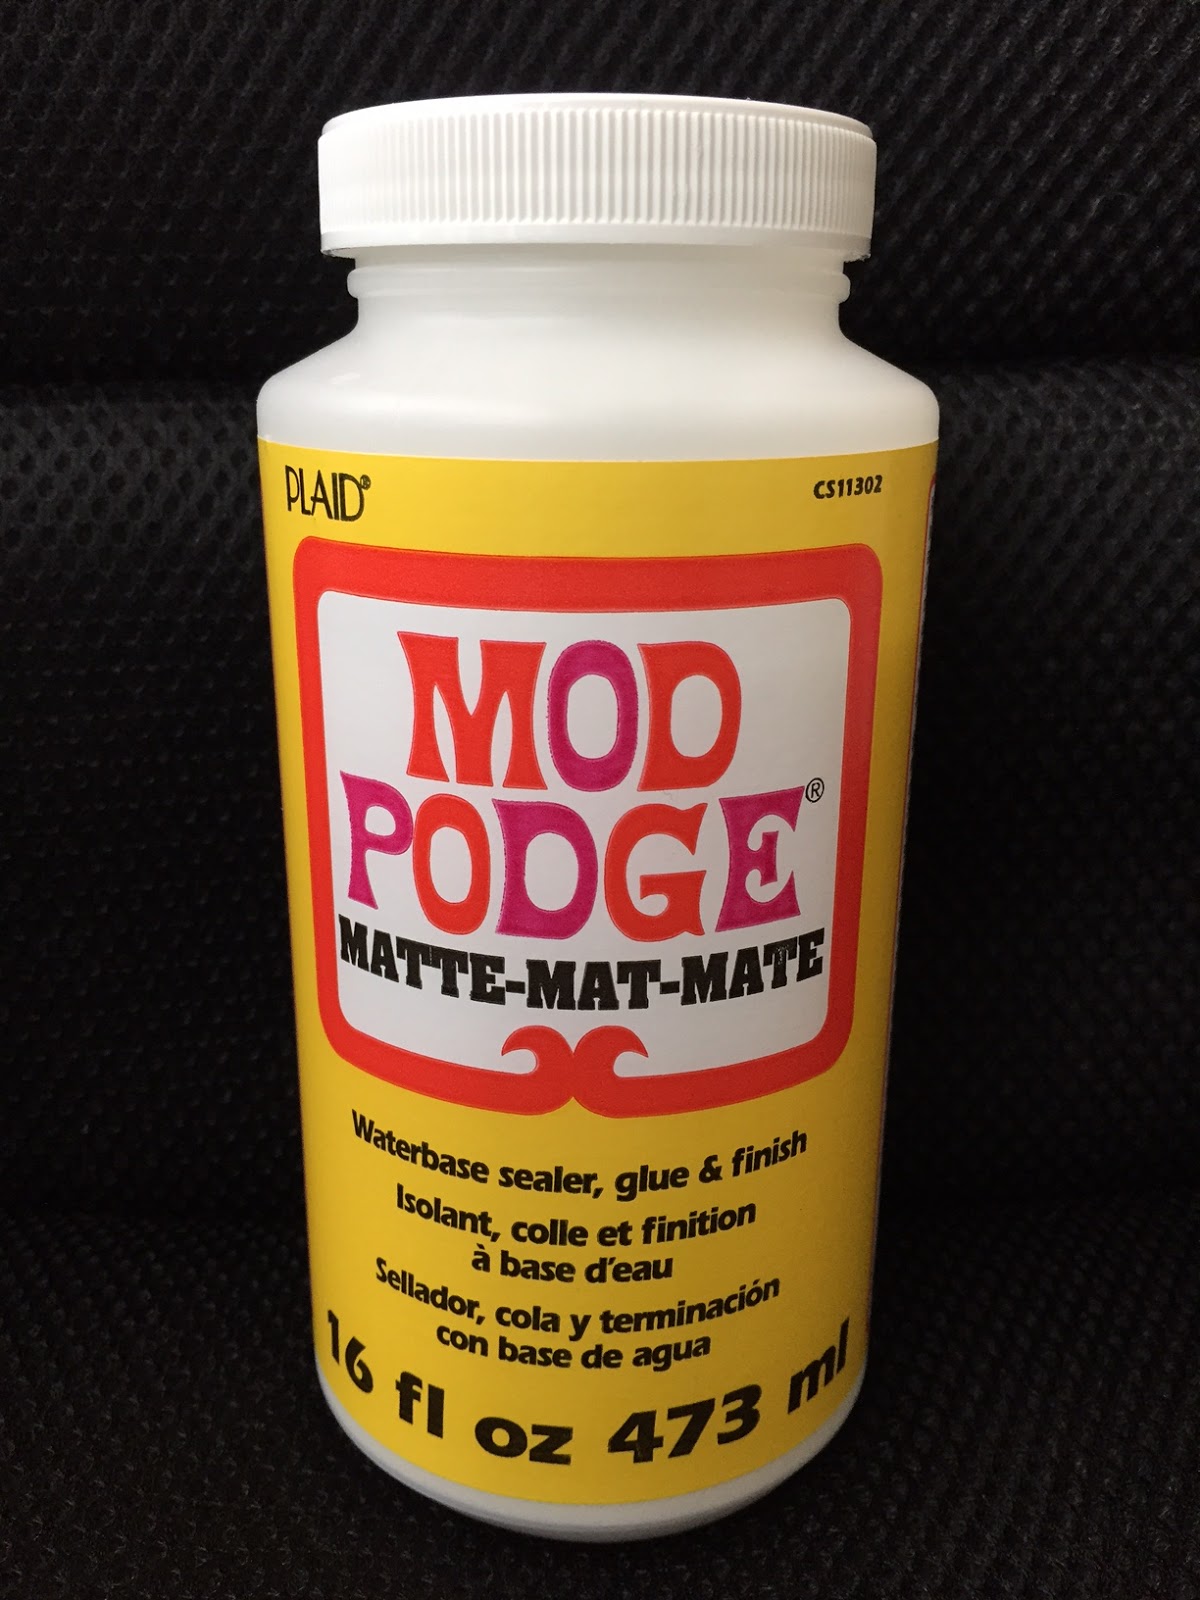
The next stiffener I tried was Mod Podge mixed with water. I chose the "matte" finish because I didn't think that glossy would work well. I didn't find any recommendations for Mod Podge, but I'm familiar with using it to seal finished puzzles and I really like the product.
The Mod Podge was much easier to mix with water than the Elmer's glue. However, like the Elmer's glue, I underestimated the amount of Mod Podge and had to go back for a second trial to increase the proportion. The resulting tatting turned out fairly stiff, and the color remained mostly unchanged. There is a very slight dulling of the black thread that is really difficult to see.
Overall, this turned out pretty well, and I might even be able to use Mod Podge by itself, without mixing any water in (though I haven't tested this yet).
The third stiffener I tried was Mod Podge Stiffy, a fabric stiffener. This ended up being my favorite of the group.
The mixture is already made for you, so you don't have to add water. However, you can add water if you'd like to dilute it. This stuff really works and the tatting was very stiff after drying. Perfect for a tatted box.
The one mistake I made with the fabric stiffener is that I didn't blot it out enough afterwards. It started to pool a little bit and left residue on the finished tatting. I tried it a second time and made sure to blot the tatting really well. This worked for me, and I didn't see any residue after it dried. The black thread is a tiny bit dull, but again, it's hard to see unless you compare it with untreated black thread and look very closely.
The last stiffener I tried was corn starch mixed with water. I followed a recipe found on
this website (click here).
With this recipe, the tatting didn't turn out as stiff as I would have liked, but it would still work well on snowflakes and other tatting. (I just want mine really stiff because I'm making a box).
I tried making a new corn starch mixture with a lot less water, but it ended up turning into a gelatin. I still used the gelatin to stiffen the tatting, and it was near impossible to blot out. It also dulled the color, as you can see in this photo.
This was initially the same shade of pink, which turned much lighter with corn starch (left) and retained its original color with Mod Podge Stiffy (right).
I think I'll save these tatted samples in ziplock bags so I can get an idea of how the stiffeners hold up over time. I'm wondering if any of them will start to yellow or make the colors of the thread fade.
For my tatted box, I've decided to use Mod Podge Stiffy, and I've already bought a styrofoam block to use as a form. I just have to cut the block to make it the right size and then find the time to stiffen the tatting, probably this weekend. After that, maybe I can start designing a lid?
Update: Click here to read a post about stiffening beaded tatting