Custom Pages

Showing posts with label heart. Show all posts

Tuesday, February 9, 2021

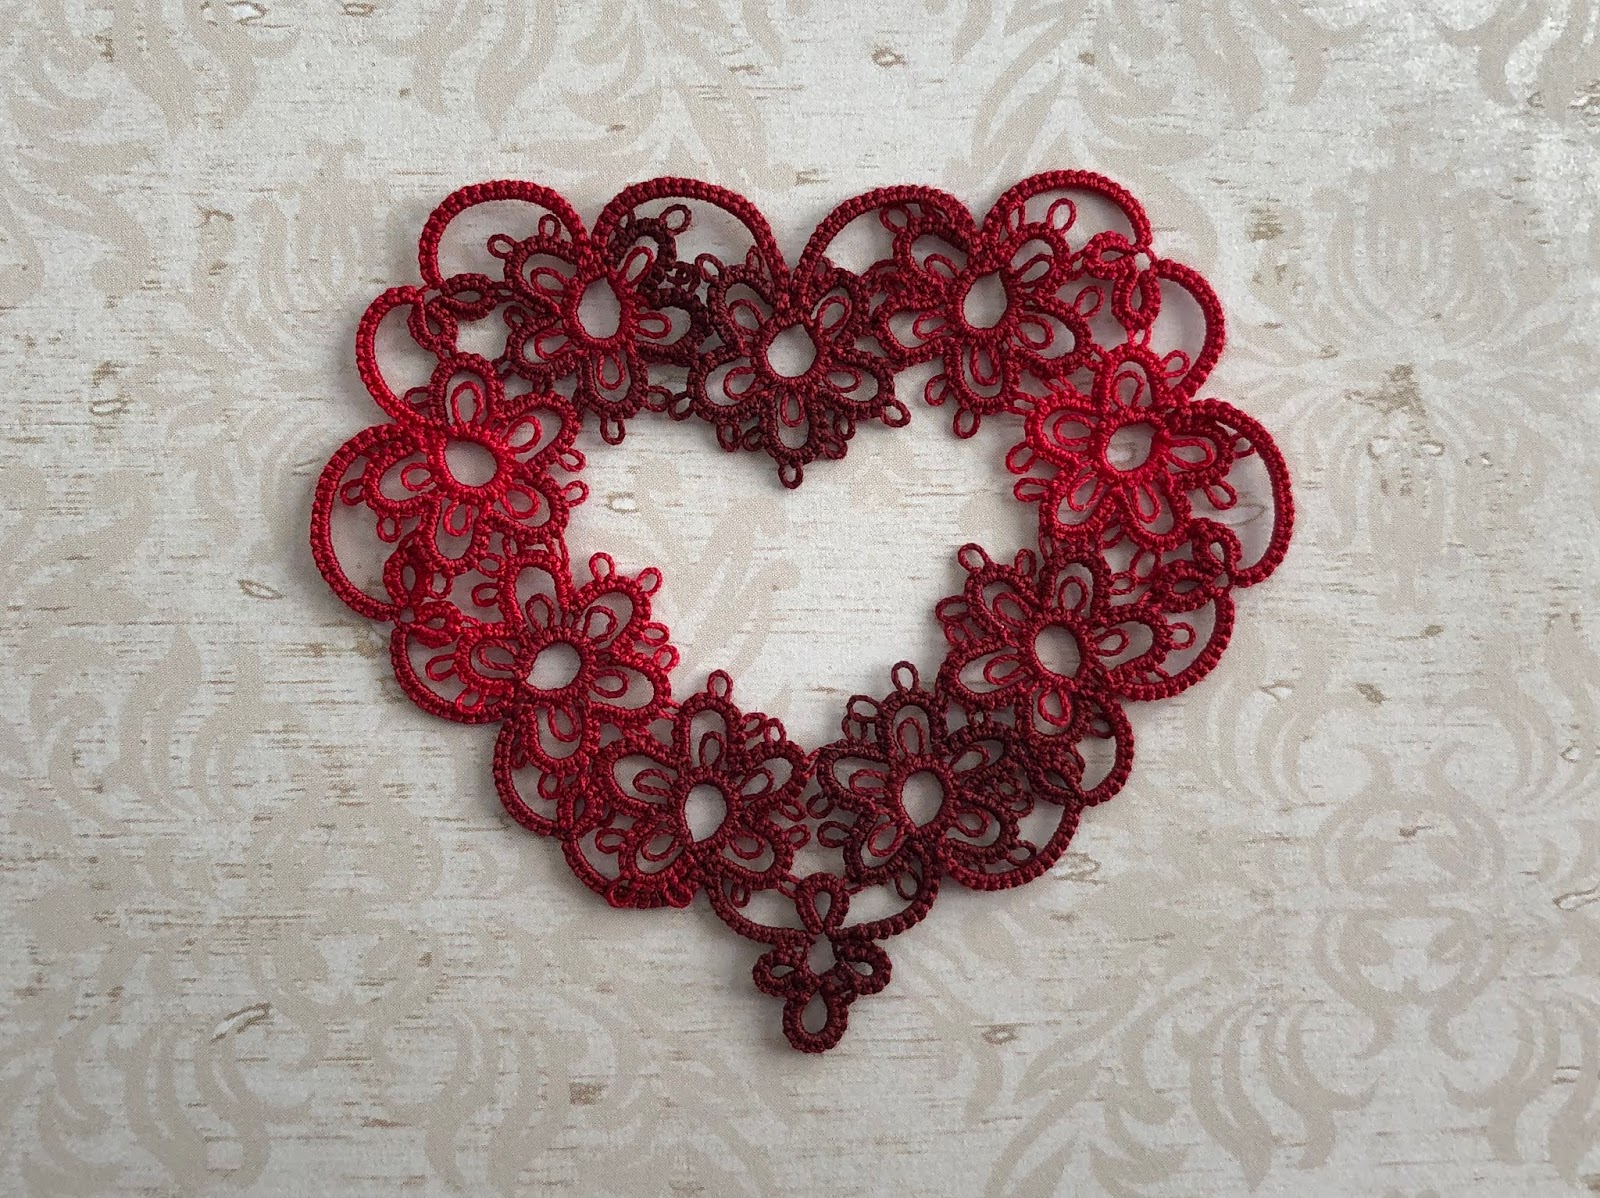
More Hearts

 I tatted a few more hearts in different colors. The first two are done in Lizbeth size 20 thread, color #628 (Salmon Medium) and color #671 (Christmas Red):


I also tatted some in variegated colors:


These are Lizbeth size 20, color #124 (Spring Garden), color #189 (Pink Ice), and color #178 (Grape Pomegranate). The pattern for these is called Candy Heart and is available in my Etsy shop (click HERE if you'd like to visit the listing). At first I wasn't sure about the variegated threads, but looking at it more I think I like the Spring Garden version. 

Monday, January 18, 2021

New Pattern

 I made a new pattern called Candy Heart. It's available in my Etsy shop (if you want to check it out you can do so by clicking HERE)


The hearts pictured above are tatted in size 80 DMC Special Dentelles, color #210 and color #603. The pattern contains two versions: Candy Heart (pictured on the left) and Candy Heart with Border (pictured on the right).

I also made a few in Liz Metallic thread (colors are Rose on the left and Raspberry Pink on the right):


The construction is similar to my Classic Heart tatting pattern, but I think the Candy Heart is quicker and easier to make. The only advanced technique is a self closing mock ring at the bottom of the heart. Other than that, it's just rings, chains, picots, regular joins, and lock joins.

I've actually been enjoying tatting this pattern, and made samples in DMC size 80, Lizbeth size 20, and Liz Metallic. I may tat a few more over the coming weeks:


One thing to note about this pattern: the Candy Heart (above left) is designed to lay flat with minimal to no blocking. However, the Candy Heart with Border (above right) is designed to cup after closing Round 1:


This is done intentionally, to prevent ruffling after Round 2 is added. As you add Round 2, the design will flatten out, which you can see in the photo below. This sample is tatted in Lizbeth size 20, color #127 Butterfly Breeze:


If you are curious, here is a photo of the ruffling that would occur if Round 1 is tatted flat: 


Anyhow, all of this is mentioned on page 7 of the Etsy pattern, but I just wanted to go into a more detailed explanation here in case it would be helpful.

Thursday, January 30, 2020

Design with me: Floral Heart

I've long admired Mary Konior's "Queen of Hearts" from her book Tatting with Visual Patterns. Ever since I saw the design, I wondered how it was created. I have some ideas, but they are only guesses.

After several years of tatting and designing, I finally gained the confidence to try to recreate Mary's Queen of Hearts, in my own way. In this blog post I will go over the steps that I used to create my design, which I've named Floral Heart:


When I design, I almost always think in terms of basic elements (rings and chains), which can be pieced together to form different types of tatted fragments. Each fragment can be duplicated to form larger pieces of tatting, such as a round in a doily. Below is a photo with examples of tatted fragments. There are five-ringed flowers, six-ringed flowers, trefoils, clovers, onion rings, and many more which lack standardized names:


Mary's Queen of Hearts is composed of a fragment which I have seen referred to as "The Scream" because it is reminiscent of the famous painting. Here is a photo of the Queen of Hearts design, and in the lower right corner is the fragment that makes up the heart:


There are nine of these fragments, all strategically placed and joined together to form the shape of a heart. There is a chain going between each of them, which allows travel from one fragment to the next. The chains also help to form the outline of the heart.

So, how did Mary put this design together? Perhaps she sketched it out on a piece of paper and worked from there. She could have tatted several of these fragments, and placed them together like puzzle pieces to build a heart. Or maybe she simply picked up her shuttles and worked version after version, until she had something that took the shape of a heart.

When designing my heart, I decided to go with the second option: tatting many sample fragments and placing them like puzzle pieces to form a heart. I chose a fragment that looks like a flower with picots, a fairly common shape in tatting. Below is a photo of the fragments:


I tried many different placements, but I found that mimicking what Mary did for her Queen of Hearts worked best. Below you will see nine fragments, positioned in a similar way to Mary's design:


Now, Mary did not have access to an iPad or apps when she built her design, but I do. I love to use my iPad and an app called You Doodle to draw on top of photos. It helps me to visualize where I want to go with my tatting. If you don't have these resources, you might try taping the tatted fragments down on a piece of paper and drawing connecting chains with a pencil. Below you can see that I have drawn connecting chains and other elements to complete the heart:


From here, it is a matter of calculating stitch counts. I tatted a few fragments with extra picots and a long chain, so that I could place them next to each other to see where everything would join up:


I basically held these two pieces in various positions on top of my iPad sketch, and took note of the stitch counts and join locations for all of the elements. It was a painstaking process and took me over an hour to get preliminary stitch counts.

At this point, I was NOT confident that the whole idea would work. I knew I'd end up with something, but I had my doubts that it would look like a heart. Well, I was pleasantly surprised when my first draft came out looking like this:


It was pretty close, and just needed to be cleaned up a bit. I removed the decorative picots on the outer chains, adjusted some joins, and tatted another sample:


This sample looked much cleaner, but still had issues in the lower part of the heart leading to the bottom point. I wanted to slim down the outer edge. I also noticed that the inner negative space could use a little cleaning up, so I went back to my You Doodle app and drew some samples:


On the left is a sample with a cleaned up outer edge and cleaned up negative space. The sample on the right just has a cleaned up outer edge. I decided to tat the sample on the left first. This is the resulting heart:


I was still curious how the sample on the right would look so I tatted that too:


After looking at my tatted samples, I decided to include both options in the final pattern. I tatted a few more versions for test tatting purposes, and to see how it would look in two colors:


And that's the process that I went through to create this heart. My blog post probably makes the whole thing seem more simple than it actually is. It took about 40 hours total, half of which was spent designing and the other half writing and testing the pattern. Keep in mind that I have been designing for several years now, and it has become easier with practice. If I tried to make this heart when I first started out I'm not sure if I would be successful (maybe I would but it would take a lot more trial and error).

Anyhow, I hope that those of you who are interested in design have found this post informative. Maybe some of you can adapt this process to make your own creations. In addition to hearts, I wonder what other shapes can be made in this way? I'm sure this process can be used to make other heart designs. Maybe that is something I will revisit in the future.

Friday, January 17, 2020

Floral Heart

Here is the completed design I posted about earlier this week. It's called Floral Heart and the pattern is available in my Etsy shop (click here if you want to go to the listing).


The heart on the left is tatted in Lizbeth size 20 thread. The colors are Blue Ice #163 and Ocean Teal Medium #664. The heart on the right is tatted in Lizbeth size 40 thread, Pink Medium #622.

I also made a couple of hearts in size 80 DMC Special dentelles thread:


On the left is color #115 and on the right is color #107.

This heart was inspired by Mary Konior's "Queen of Hearts" which appeared in her book Tatting with Visual Patterns. Would anyone be interested in a "design with me" blog post about how I used Mary's pattern as inspiration to put this design together?

Friday, September 28, 2018

Tatting from Norway

I recently received an email from Norway, from a tatter named Liv Strind, asking about using a few of my free patterns for their guild's upcoming magazine. Liv also attached a beautiful photo of her tatting, which she gave me permission to share:


This was made for a wedding book. I just love the combination of tatting, the colors, and the flowers in the background. The edging is from Sumie Tatting 2, and the heart is one of the patterns from my Etsy shop. Liv said the background flowers are from a basic, older pattern, and graciously sent me a PDF file with instructions on how she attaches the central bead. I've been meaning to learn more about adding beads to tatting, and the central bead is a technique that I haven't done before. I hope to give it a try sometime soon!

Friday, September 21, 2018

Metallic Tatting

Over the past month I've tatted a few things using the new Liz Metallic thread. The sparkle is so hard to capture in photos. I think it comes through a little bit when taking close ups of the tatting:


The snowflake is something I made earlier, when I was rewriting one of my Etsy patterns. It's made in Liz Metallic Silver. After that, I tatted the heart in Raspberry Pink, and the bookmark in Sand Dollar:


The Raspberry Pink color is pretty intense, though I don't think that shows up well in the photos. Here's a size comparison of three hearts. The top heart is tatted in Lizbeth 40, the middle heart is tatted in Lizbeth 20, and the bottom heart is tatted in Liz Metallic:


Here's the metallic bookmark photographed next to another bookmark made in Lizbeth 20 Pink Parade:


The tassel threads in the metallic tend to separate, but so far the tassel knot is holding up fine:


I do like the stiffness of the metallic thread, especially for snowflakes. I'm thinking of using it to make snowflakes for holiday cards this year. I will have to limit my tatting time with the metallics though, as they are much rougher to work with than cotton.

Monday, February 12, 2018

Tiny Tatting

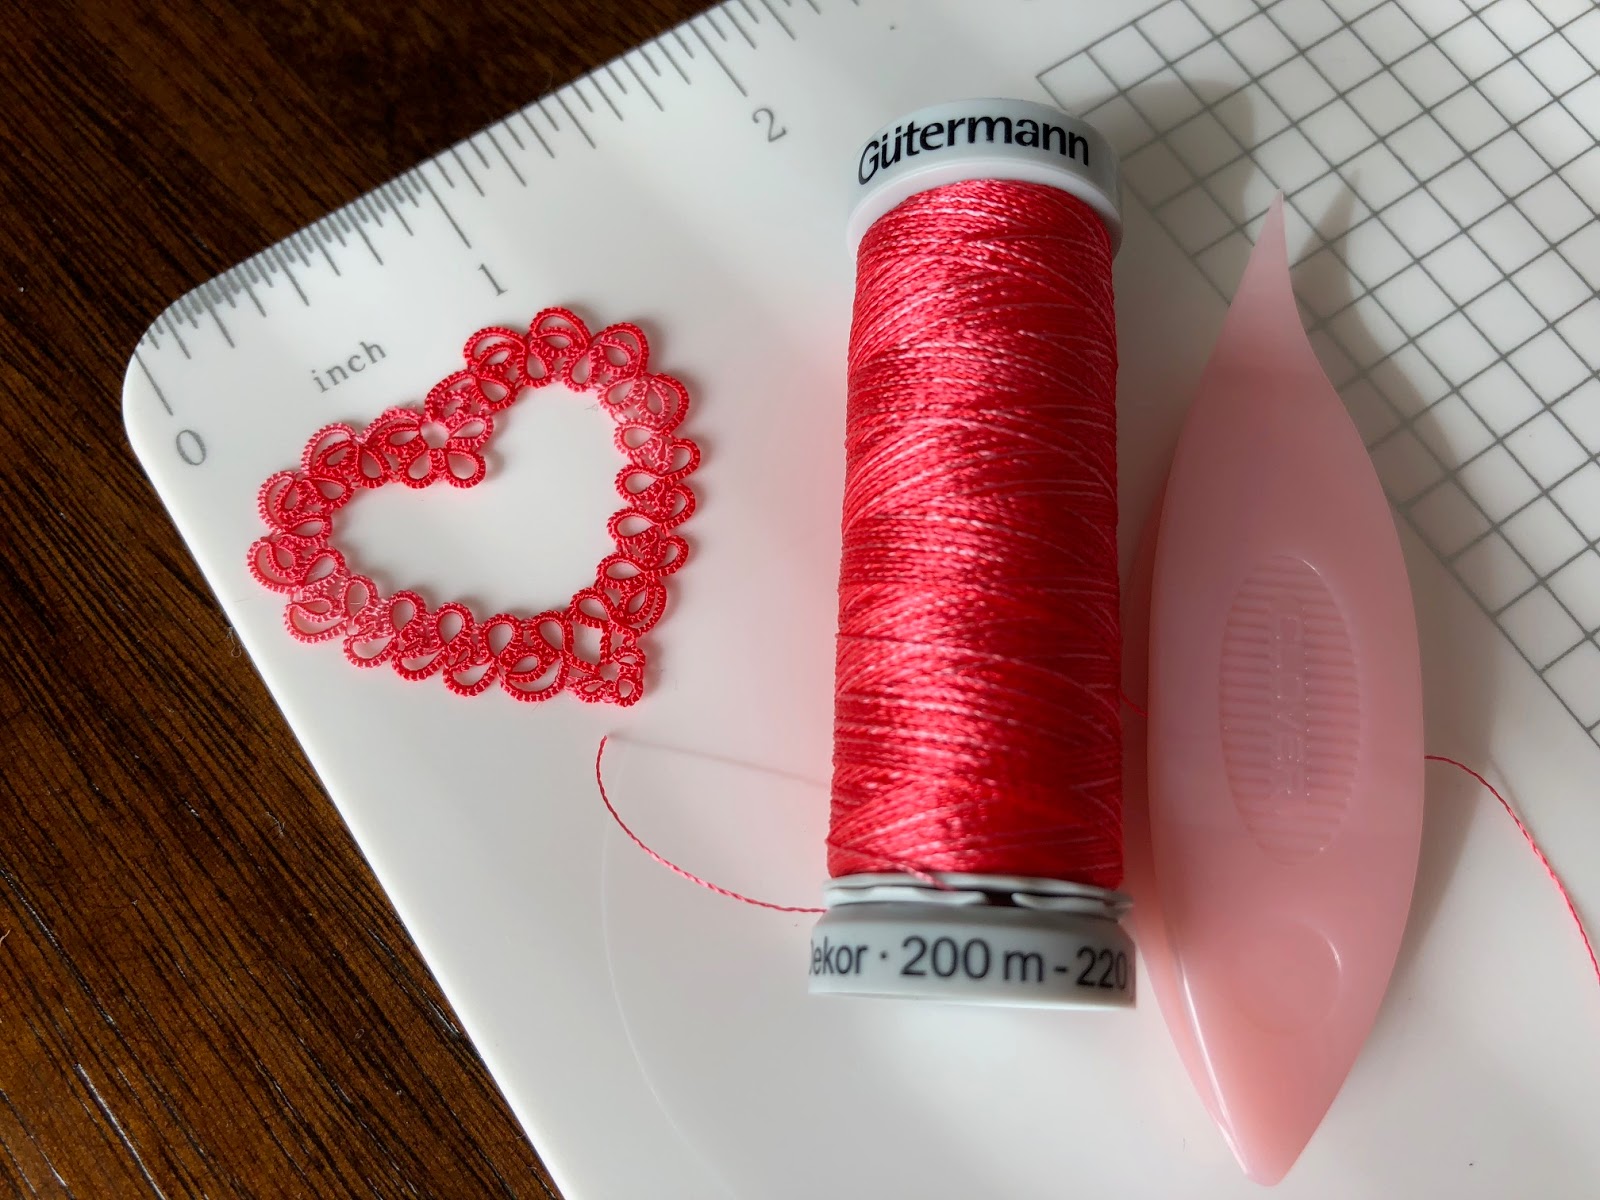
I stopped by Jo-Ann Fabrics to look through their collection of sewing thread. They had some nice colors in the Gütermann Dekor embroidery thread, so I bought one to try it out for tatting. It's 100% viscose and color #9945. I used it to make a heart:


This is the first time I've tried tatting with something other than cotton. I was surprised because it was easier to work with than I thought. It's VERY tiny though. Smaller than size 100 tatting thread, and nearly impossible to see the stitches. The picots don't keep their shape very well (the thread unravels), but the heart pattern doesn't have any decorative picots so it worked out okay.

Here's a photo comparing the sizes. Size 40 Lizbeth on the left, Güterman Dekor in the middle, and size 20 Lizbeth on the right:


Overall a fun experiment, but I'm not sure how often I will make something so small. It's difficult on the hands because the stitches need to be snugged very tightly. The rings were hard to close at times and I couldn't really see what I was doing when I sewed in the ends. I do like how tiny it is though:


Friday, January 19, 2018

Heart

Here's a photo of the design I created while taking a break from tatting my doily:


This pattern is inspired by a lot of classic tatted hearts, specifically designs that use an outline to represent the heart. As such, I've called this pattern "Classic Heart." You can find it in my Etsy shop by clicking here.

The sets of double rings have proven to be a really versatile tatting element. I've used them in several designs, including the doily from my previous post. By changing ring size and join location, a lot of different curves and angles can be made.

I tatted 12 hearts before I got the angles correct and finalized the stitch counts. While I was experimenting, I could see the potential for outlining several other shapes as well. Not that I would do it, but I bet the alphabet could be tatted with ring sets like this. Also spades, clubs, and diamonds to go along with the heart (as in playing cards), but I'm not sure how good those would look as just outlines.

So far, I've only tatted three hearts from the finished pattern:


When I get the chance, I'd like to try a few more color combinations to see how they look.

Monday, December 22, 2014

Making Sketches

After spending weeks tatting snowflakes, wrapping gifts, and getting ready for the Holidays, I've finally had a chance to sit down and do something more relaxing. I decided that I wanted to try sketching some potential designs the old fashioned way...with pencil and paper. Many doodles and pieces of paper later, I ended up with a butterfly and a heart:


Prior to this, I had been exclusively using Kaleidoscope Drawing Pad to come up with ideas. While this app works really well for snowflakes, squares, and crosses, I was never able to create a satisfactory butterfly or heart. It seems that the less points of symmetry an object has, the more difficult it is to draw on an iPad.

There's no telling if these ideas will translate into tatting, though I try my best to keep my drawings within the confines of expected thread behavior. Nothing too fancy or confusing.

On another note, I liked the way the Priscilla bookmark turned out, so I decided to tat one for myself. This one is in progress and I'm using Lizbeth size 80 in the color Rainbow Taffy.


I didn't wind enough thread onto the shuttles, so I will have to add more as I go...something I try to avoid because I hate both sewing in ends and tatting over tails!