Today's post is a little overdue, and is about designing magic squares. I will be adding a link for this post at the top of my
Tutorials page, so that it can be accessed at any time. If you haven't already, please take a look at my previous post about
deconstructing magic squares. The first part of that post (small squares) is especially relevant, and I will be expanding upon that idea today.
In today's post, I will be sharing my method for designing magic squares. Keep in mind that there are other ways to do this, and feel free to diverge from my instructions as needed.
Part 1: Requirements
To design a magic square, you will first need a repeatable square. (A repeatable square is a square that can be connected to other identical squares, similar to granny squares in crochet.) This repeatable square needs to be completed in one round, and cannot involve climbing out to a second round.
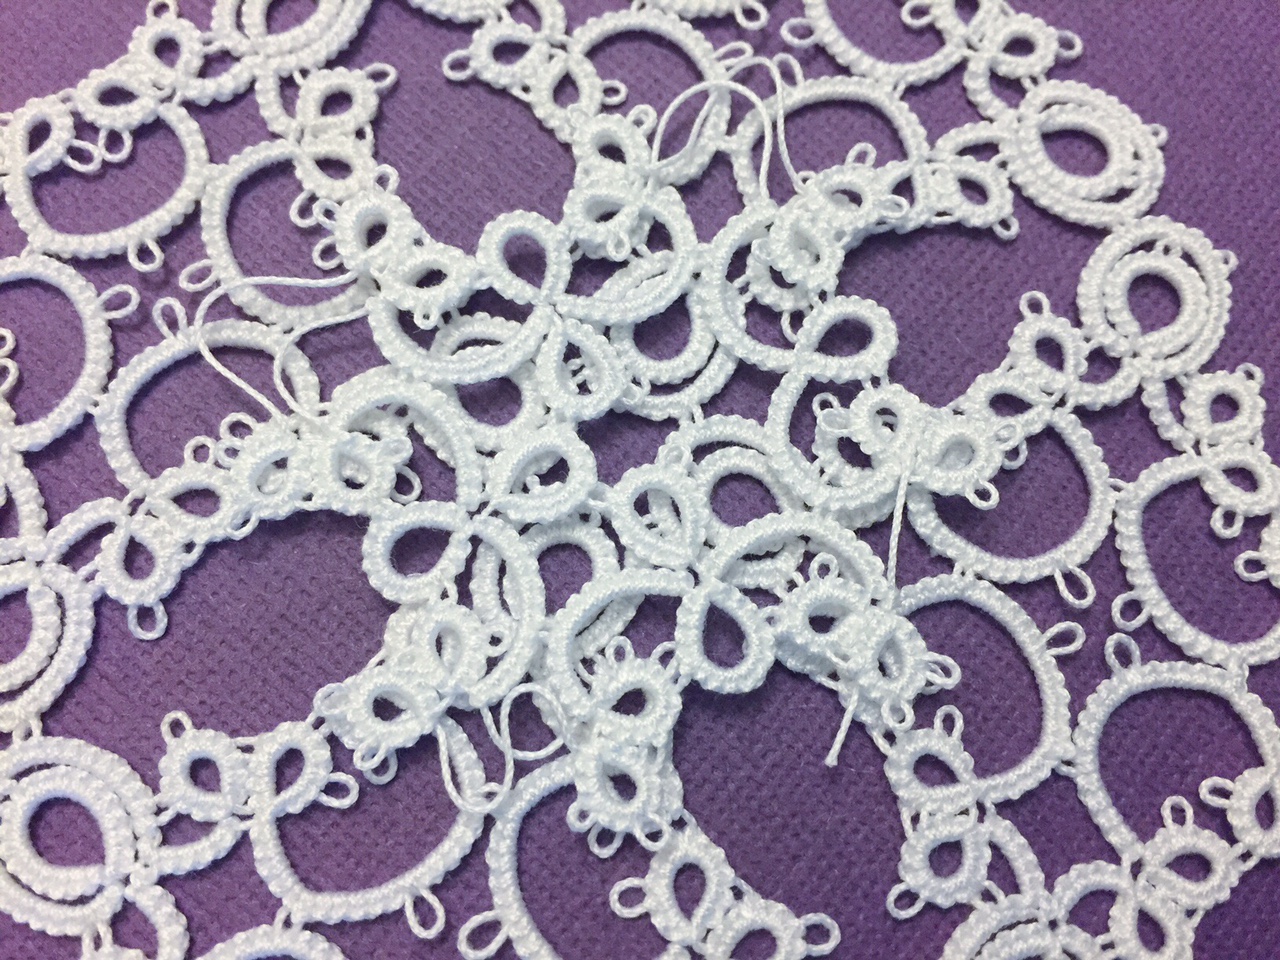
Here are a few examples of squares that are made in one round:
You can find one round repeatable squares by searching through existing tatting patterns, or you can design a square of your own.
Mary Konior's Patchwork is an example of an existing pattern that I converted into a magic square. My
triangle variation magic square and
onion ring magic square are examples of squares that I designed on my own.
The simpler the square, the easier it will be to turn into a magic square. You can transform more complicated squares, but I would only recommend that if you are very comfortable and have prior design experience.
Part 2: Finding a Path
Once you have found a square that you like, it's time to create a four square mat. This mat will help us find a path to construct a magic square.
You can make your mat virtually (through apps, computer programs, or drawings), or physically (actually tatting the squares together). I prefer my first run through to be virtual, so that I can make sure that the pattern is viable, without spending too much time tatting.
To virtually assemble a four square mat, I start with a photo of one tatted square, taken from a bird's eye view:
I use a collage app called Photo Grid, which is free and is available on several different platforms. With this app, I import four copies of my photo and choose a collage that builds four equal squares. I remove any borders, and position the photos accordingly:
There are a lot of other programs that can do the same thing for you, and you don't have to use this particular app. Inkscape and other editing software will work as well. I use the app because I am always on my iPad, and hardly ever on my computer.
After making a visual representation of the square mat, it's time to find a path to connect the squares together. This connection needs to happen in the center of the image, where all four squares meet. Our goal is to find a tatting path that will enable the pattern to be completed in one round.
To brainstorm a path, I like to use a second app called You Doodle. You Doodle is an app that lets you draw on top of photos. It's free and is available on several different platforms. Again, you don't have to use this particular app if you find another program that can achieve the same result.
After importing my photo into You Doodle, I use the brush tool and choose my background color (in this case black) to cover up a section of tatting. I want to cover the section in the middle of the mat, as seen below. This will give me a blank canvas for redesigning the center:
The portion that you cover up will depend on the design that you are working with. Cover whatever you think is necessary to recreate the center of your mat.
With that step complete, it's time to draft a new design. Using the color of your tatted sample and the brush tool, try drawing different centers until you find one that you like. The objective is to create a tatting path that travels smoothly, from one square to the next. Here's what I came up with:
As you draw your new center, ask yourself this question: Can you trace a path from one square to the next, without stopping? If so, then you have a successful magic square prototype!
You can play around with a lot of different ideas for the center, as long as they all accomplish the same goal. I often have many saved photos and choose the one that is most visually appealing.
If you don't have access to these apps, or you don't want to create digital prototypes, you can find other ways to brainstorm. Perhaps tatting the four square mat, and covering the center with a small piece of paper would work. You could try drawing a new center on the paper to see if you can find a continuous path. The main point is to get creative and to use the tools that are available to you. There are no "wrong" ways here, so please feel free to experiment!
Part 3: Tatting the Center
After you have drawn a new center it's time to turn your prototype into tatting. For this step, I like to start with a tatted four square mat (without the new center). It helps me to size things and line them up during the redesign. Here is my square mat:
I will be using this square mat as a guide for creating a new center. As I tat the new center, I will hold it up to the mat, to make sure that everything fits as intended. If you use this method, remember to stick with the same size, brand, and color of thread in all of your tatting. It helps to keep things as consistent as possible.
For this redesign, I find that it saves a lot of time if you only tat the center, and lay it on top of the square mat as you go. Lining it up to the original mat will help to determine if the new center will fit in the overall pattern. Tat just what you need, and don't worry about mistakes. Here is my center design in progress, next to my sample of four squares:

Here is a photo of the center placed on top of the square mat, to ensure that everything lines up:
This part requires some design ability and a lot of trial and error. You might find that you go through several tatted samples before you find a center that works for your pattern.
When you find a center that works, it's time to incorporate it into the overall design. Try tatting a sample of your four squares, but this time, connect them together using your newly designed center.
Follow the basic magic square path to guide you through the pattern:
As you are tatting your magic square, it is very important that the new center creates a straight line (this line will run diagonally through the square). This is because the center will serve as a corner for a second version of your magic square (seen in Part 4: Expanding the Square). You can double check by holding a piece of paper next to your tatting as you go:
My square was slightly off where the two rings meet. I needed to scrap the sample above, and start again with larger rings. Here is the completed square:
Part 4: Expanding the Square
After you have successfully created a small magic square, you have all of the stitch counts necessary to make a magic square of any size! Let's look at a second "inverted" version of the magic square pictured above.
Remember when I talked about the importance of the new center forming a straight line? This is because it will serve as the outer corner for a second, inverted version of the square. You can see part of the inverted square, outlined in green below:
Here is a tatted sample of the inverted square:
If you follow my method for creating magic squares, you should be able to find an inverted square within your design as well. When expanded, this inverted design will create a new magic square:
This magic square can be visually broken down into four of the inverted squares, connected continuously in the center of the mat:
The continuous center in this large magic square is composed of the corners of the very first square we began working with. As a result, there is no need for redesigns or recalculations. Simply use the stitch counts contained in the original square pattern.
Here is the original square, hiding within the large magic square:
Pretty neat, huh?
Well, that's all I can think of to add to today's post. Be sure to let me know if you have any questions about the process or if anything is confusing. I hope that the information presented here is clear enough for some of you to embark on your own magic square journeys :)