Custom Pages

Saturday, November 8, 2014

Drawing Teardrop Shaped Rings

Update: Click here to read about an alternative way to draw teardrop shaped rings

Last time, I talked about using the Bezier tool to draw chains. This time, I am going to talk about how to use the same tool to draw a ring. The benefit of using the Bezier tool instead of the circle tool is that the Bezier tool can create teardrop shapes:

This method is more complicated than using the circle tool, but it is well worth the effort. Remember, you only have to draw ONE ring. After that, you can continually copy/paste or duplicate this ring to create as many as you need. When you have created a ring you are happy with, it is important to save a copy in another file so that you can access it at any time. I will talk more about creating a template file in a future post.

Let's get started. To help guide our drawing, we can add graph paper to the page. Go to File and click on Document Properties


Click on the tab labeled "Grids" and press "New" to create a rectangular grid.


Zoom in until you have a working space that you are comfortable with. Ideally, we'd like to be able to see the grid squares so that we can use them to help guide our drawing. This looks like a good working area:


Overall size is not important because we can resize our ring at a later time (I will talk about how to do this in another post).

Once you have found a good working area, choose the Bezier tool and click on "Create Spiro path" at the top of the page:


Spiro path will create a slightly smoother curve when compared to a regular Bezier path:


With our options selected, it's time to draw some points on the grid to create a ring. Using the Bezier tool, click on various points on the grid until you have something that resembles a ring. The grid will automatically snap your points to the intersection that you are closest to. When you are finished, it should look something like this:


To smooth out the rough edges, we will need to use the Node tool. Select the Node tool from the side menu, and drag a box over the BOTTOM two thirds of your drawing. Make sure that the box forms around all of the nodes except for the top one.


The nodes inside the box will turn blue, letting you know that they have been selected:


Now, go to the top of the screen and click on the icon to "Make selected nodes symmetric."


This will round out the bottom portion of your ring. It's hard to see with the grid in the way, so let's remove it by going back to File > Document Properties, and clicking Remove at the bottom of the grid menu.


With the grids removed, we can see our completed ring:

Friday, November 7, 2014

2) Another way to Draw Chains

In my last post, I talked about how to draw rings, chains, and picots using the circle and pencil tools in Inkscape. I briefly mentioned that Inkscape is a tricky program to use. Let me add that there are multiple ways to reach the same outcome. Case in point: drawing chains.

Today, I will talk about another method to draw chains. Here is the result:


To draw the chain pictured above, we will need to use the Bezier tool and nodes to transform a straight line into a curve.

The Bezier tool can be found just underneath the pencil icon on the side bar:


After selecting the Bezier tool, choose the option to "Create regular Bezier path," found at the top of the screen:


(Please Note: If you have selected "Create Spiro path" the following instructions will NOT work)

With the Bezier tool, we can form a line by clicking on two points on the screen. Below, I've chosen a point where I would like my chain to begin and end:


After you have clicked on a starting and ending point, it is important to press Enter on your keyboard, otherwise, the Bezier tool will continue to create new lines. When you are finished, you will notice the green line turns into a solid black line:


Now it's time to turn this line into a curve. To do so, select the Node tool:


With the node tool, click and drag any portion of the line to create a curve. I've chosen to drag from the center of the line:
To get a more rounded look, we will have to add more nodes. With the Node Tool, select your chain and click on the Add Node icon at the top of the screen.


Now you can click on the spot where you'd like to add another node. I've chosen a spot closer one of the rings, which has placed two new nodes (one on either side):


Now I can use the Node Tool to reshape the chain again.


Here's how it looks after it's done:


Wednesday, November 5, 2014

1) Diagramming Rings, Chains, and Picots

Today marks the start of an upcoming series of posts about how to use Inkscape to draw tatting diagrams. I don't have any schedule set in place, and will post them as I write them.

Inkscape is a free program that I have been using to create the diagrammatic patterns that you see on my Free Patterns page. You can download Inkscape by visiting their website and clicking on the "Download" tab:

Click Here to go to the website for Inkscape

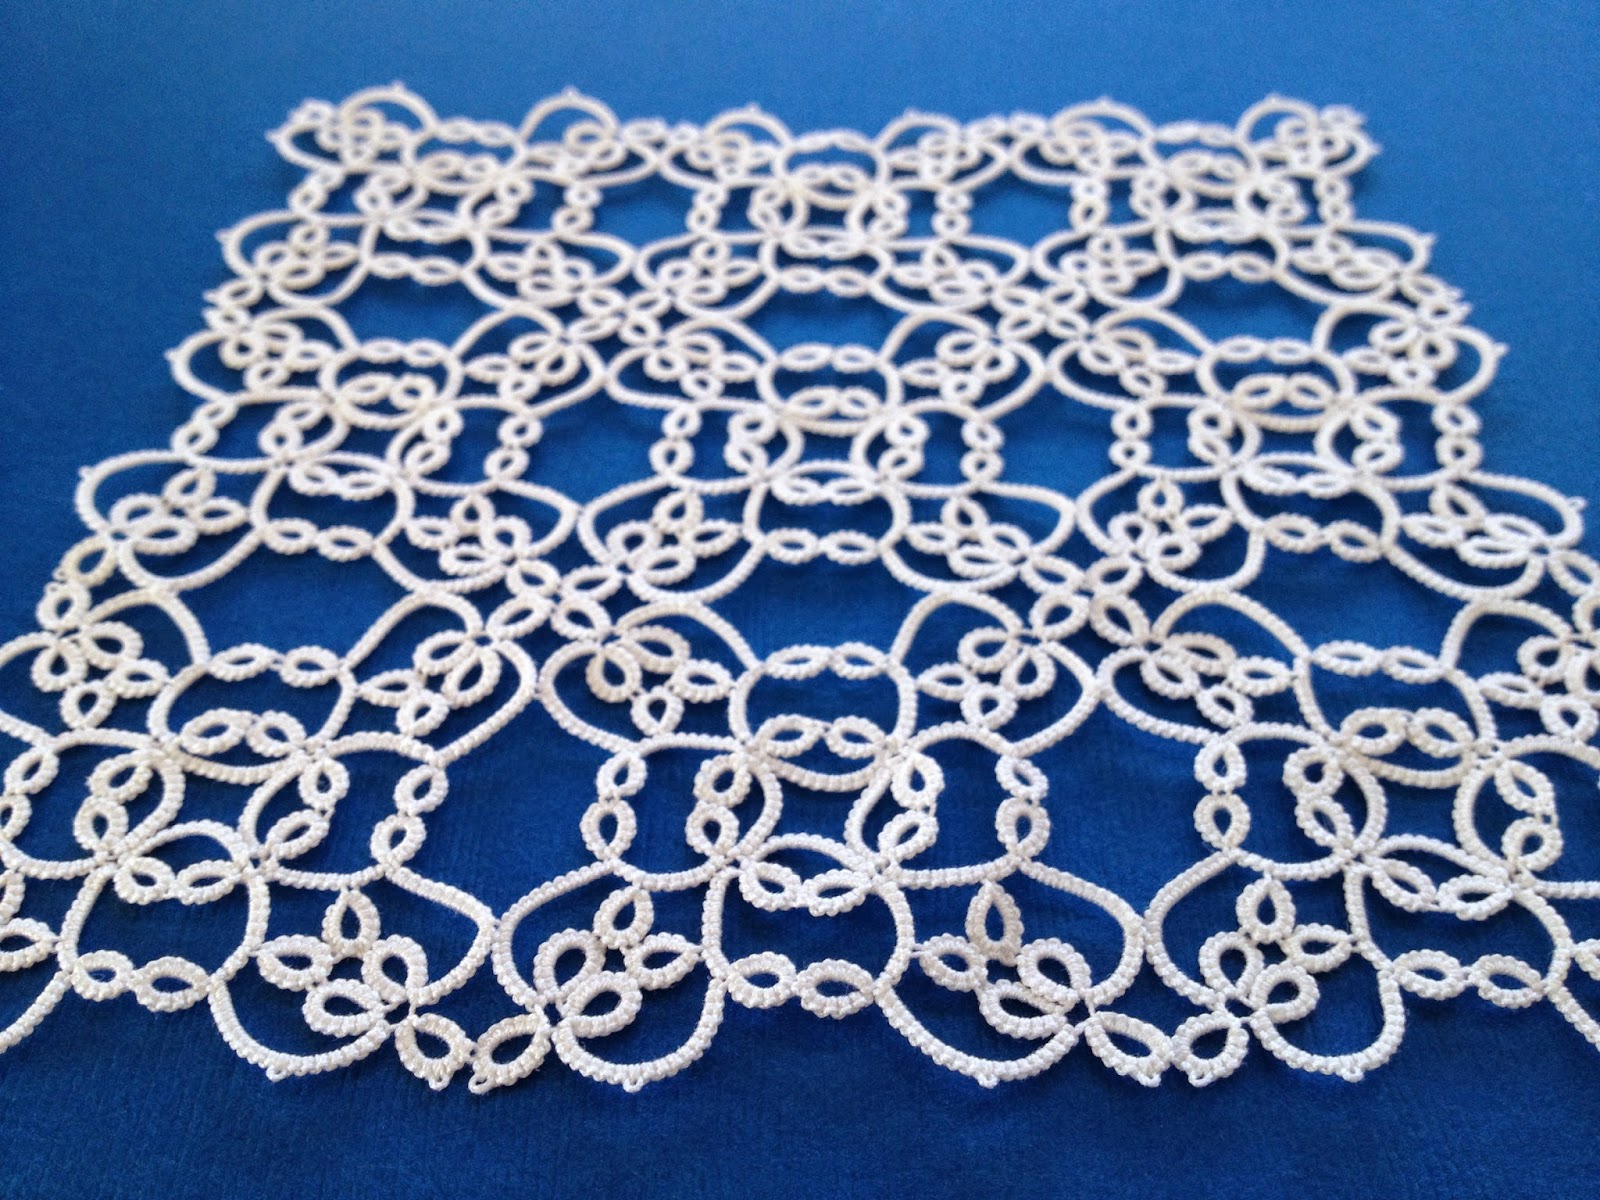
This program can be very tricky to use, which is why I am going to break everything into smaller posts. Today I will talk about how to draw rings, chains, and picots to create the image below.

So, for those interested in learning more about diagramming, let's get started.

Upon opening Inkscape, one of the first things you may notice is that the page is zoomed out. The rectangle in the middle of the screen represents the actual page that you will be working with, although you can draw and move objects anywhere on the screen.


I like to begin by zooming in, so that I can get a better idea of the relative size of my drawing. Look for the zoom icon on your screen (mine is in the lower right corner) and use the up and down arrows to adjust to your desired size.


Once I have everything zoomed in, my page looks more like this:


Now it's time to begin drawing. When creating a tatting diagram, most of our drawing can be done with the circle tool. The circle tool allows you to draw circles, ellipses, and arcs. To select the circle tool, click on the circle icon on your screen:


Once selected, you can drag your mouse across the screen to create a variety of oval shapes. Below, I've created a shape that can be used to represent a ring:
If you want to adjust your oval, click and drag on either of the two small squares that rest along its circumference. The top square will adjust your oval vertically while the square on the left will adjust it horizontally. For a perfect circle, hold down the Ctrl key on your keyboard while moving these squares.

If you click elsewhere on the page, the resizing squares will disappear and you can see what your image will look like when it is printed or accessed as a digital file:


Now that we have our ring drawn, it's time to make a chain. 

To draw a chain, we will be using the same circle tool that we used for the ring. Select the circle tool and drag your mouse across the screen to create a new shape.
Notice the small circle that I'm pointing to with the red arrow. This is used to turn your drawing into an arc. By clicking on the small circle and dragging your mouse around, you will notice the change in shape.

Dragging the mouse inside of the circle creates an open arc:
While dragging the mouse outside of the circle creates a closed arc:
For chains, we want to use the open arc image, so try to keep your mouse inside of the circle as you reshape. Alternatively, you can use the following icons to change your arc from closed to open and vice versa. These icons appear at the top of the screen when the circle tool is selected. You must be using the reshaping circles for this menu to become active.


Please note: If you want to go back to creating whole circles, you will have to change the shape again by clicking on the icon below:


When we have finished shaping our chain, we can select it and move it next to our ring to simulate interconnectedness. To move the chain, we need to switch to a new tool, which looks like the cursor of your mouse:


You will use this tool anytime you want to move an object. After you have selected the "cursor" tool, you can click and drag the chain toward your ring:
Place it where you would like it to be.
If you find that the shapes don't fit together in the way you'd like, you may have to re-adjust your chain, or change other aspects such as fill and rotation. I will talk more about these types of changes in a future post.

For now, lets move onto talking about picots. I like to use the pencil tool to draw my picots.

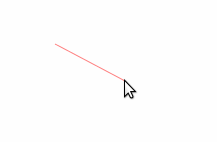
Select the pencil tool and click anywhere on your screen. Now (without holding the mouse button down) move your mouse around. You will notice a red line forming:
If you click again, this red line will become a solid black line, ready to incorporate into your drawing.
To represent a picot, you probably want to make your line a lot shorter. I like to zoom into my previously drawn ring or chain, and try to draw my two points directly on these elements

When you have finished drawing your picot, it should look something like this:
The red arrow that you see above is also drawn with the pencil tool, using color change, increased width, grouping, and rotating; all of which will be discussed in future posts.

Monday, November 3, 2014

Back to Stawasz

Well, I'm finally back to making some progress on the Stawasz Monster Doily, after taking a much longer break than anticipated. In order to keep from going crazy from the monotony, I find that I need to take regular breaks to work on other things that are more interesting. Here is the doily, up to Round 7 now, tatted in DMC Cordonnet Special size 100 white:
I changed the stitch count a bit from the suggested numbers posted by monedido at InTatters. This is one of the rounds where the stitch counts for the chains are missing, and the photograph in the magazine is too zoomed out to be able to count stitches. I must have altered it a bit too much, because I found this round starting to ruffle. No worries though...a bit of water and a trip to the blocking board fixed that right away.
Now the question is whether or not my blocking board will be large enough to contain the doily once it gets to the last few rounds. It will be close. I bought this last year from my local JoAnn Fabrics for about $15 after using my 50% off coupon. I think I got a pretty good deal. It's called the June Tailor Cushioned Quilter's Square 'N Blocker for anyone interested.

Here's another shot of the doily.
It's getting to be too big to photograph on my card stock, so maybe I'll make a trip to Hobby Lobby to pick up some of the poster board sized paper I saw there.
Now it's time to formulate my first post about how to diagram with Inkscape, so I can get it on the blog later this week.

Tuesday, October 28, 2014

Pattern Posted

Just a quick post today, to let everyone know that the Garden Cross and Square Variation pattern has been added to my Etsy shop. You can see the listing by clicking on the image below or on the Etsy link on my sidebar.
https://www.etsy.com/listing/208781399/pdf-tatting-pattern-garden-cross-and?

I've expanded the square mat to nine squares now.
My goal is to get it to fifteen squares and then use it under a small picture frame.

Hopefully next week I will have the first Inkscape Diagramming post ready. It will be about creating templates, and I will be providing a free basic template for anyone to download.